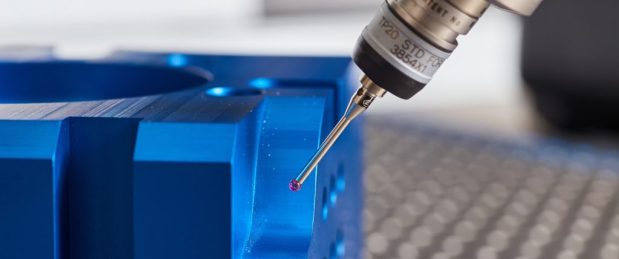
The AEM Inspection Process: No Shortcuts, No Surprises
From raw material to finished product, here’s how we validate quality at every step.
First Article Inspection (FAI)
Before full production begins, we machine a sample part and scrutinize it against your drawings. We measure dimensions, tolerances, and surface finishes using calibrated tools such as micrometers, height gauges, and optical comparators. This step catches potential issues early, saving time and material.
In-Process Checks
Our machinists aren’t just operators; they’re trained inspectors. At each stage (milling, turning, welding, etc.), they pause to verify their work. If a tolerance is off by even a thousandth of an inch, they adjust the setup before continuing.
Final Quality Inspection
Before packaging, every part gets a second review by our Quality Control team. They:
- Re-measure critical features.
- Check for surface defects or burrs.
- Validate finishes (e.g., coatings, plating) against requirements.
Only after passing this gate does a part get cleared for delivery.
More than just Paperwork
Certifications are meaningless without a team that cares. At AEM, our inspectors take pride in their work because they know you’re counting on it. As one longtime QC technician puts it:
“I wouldn’t pass a part I wouldn’t use myself.”
Why This Matters to You
Fewer Delays
Catching errors early means no last-minute scrambles to rework parts.
Confidence
Our reports give you hard data that your parts meet spec.
Transparency
Need to see inspection records? We’ll provide them.
See It in Action
Want to watch us measure a freshly machined component? Tour our QC lab and see how we turn skepticism into certainty.
Ready to partner with a shop that inspects as hard as it machines? Get a quote today.